One of the most asked questions I get as a solo traveler is, “How do you take photos of yourself when traveling solo?” I’m here to tell you how to do it and how to make it easy!
If you’ve been following me on Instagram for a while then you’ve seen my photos evolve over time. Over time I’ve gotten more comfortable in front of the camera and I know what I want sometimes before even getting to the place.
This post contains affiliate links from which if you make a purchase I may make a small commission at no additional cost to you. This helps me keep the blog running.
Research
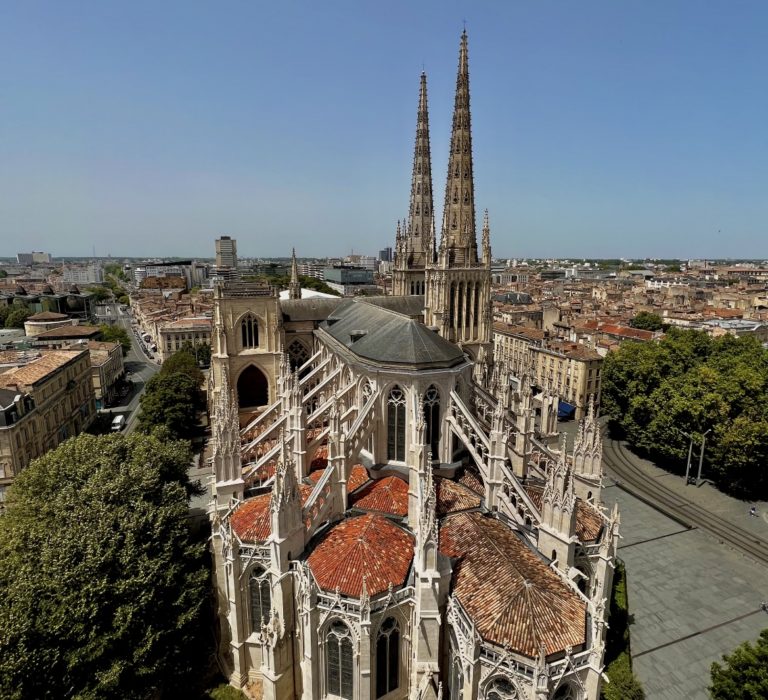
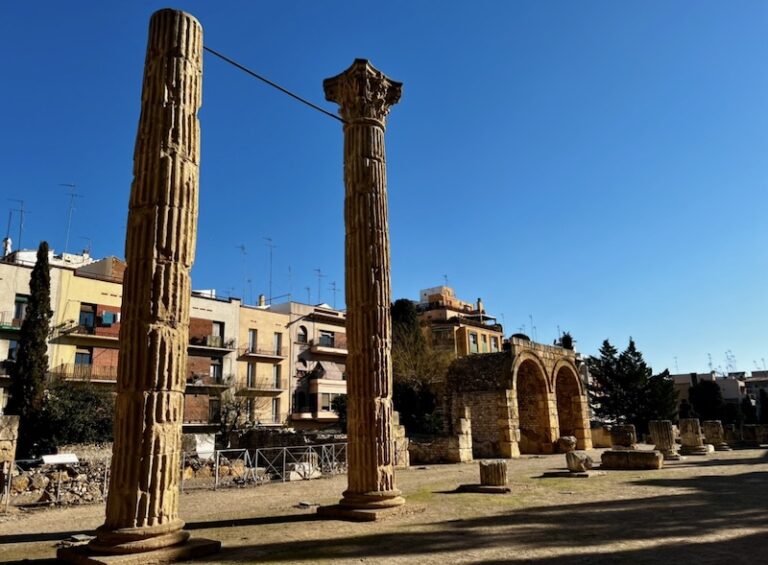
Taking good photos of yourself as a solo traveler all starts with research, once you know where you’re heading. I like to search on Instagram and TikTok for ideas of places for photos and aesthetics. If you’re a Pinterest user than there’s lots of info and advice there too. This way you’ll have an idea of what your backdrop looks like and how you want to look like in front of it.
Start deciding what the individual shots are going to look like. Is it going to be a close up? A far away shot? Is it going to be your back showing or your profile? All of this will help you know what you need to be wearing, if you need any props and the lighting you’d like to have. Which takes me to your next must do before even leaving your house which is posing.
Know your poses
You need to get your posing down before going out to get some shots. This could mean trying out poses in front of the mirror or a friend who you know won’t judge.
The best way to practice is taking pictures though. You never have to post these anywhere. It’s just so that you can see what works for you and what doesn’t.
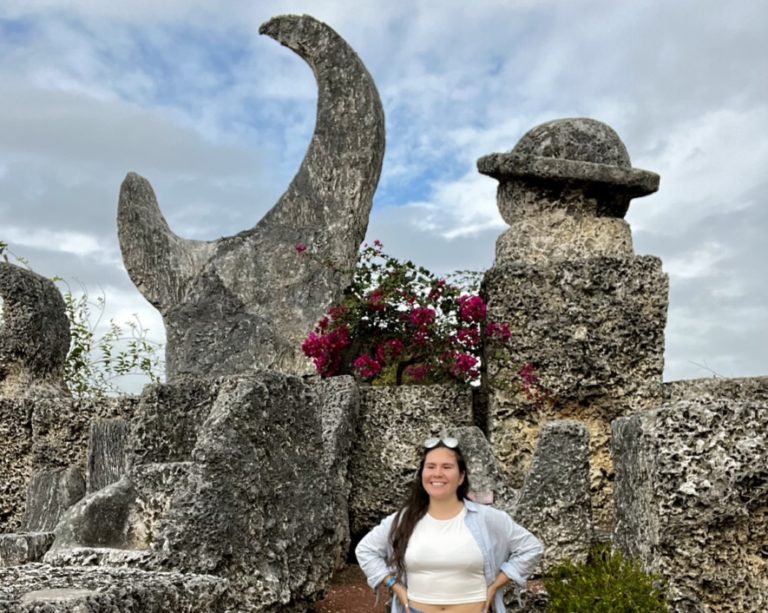
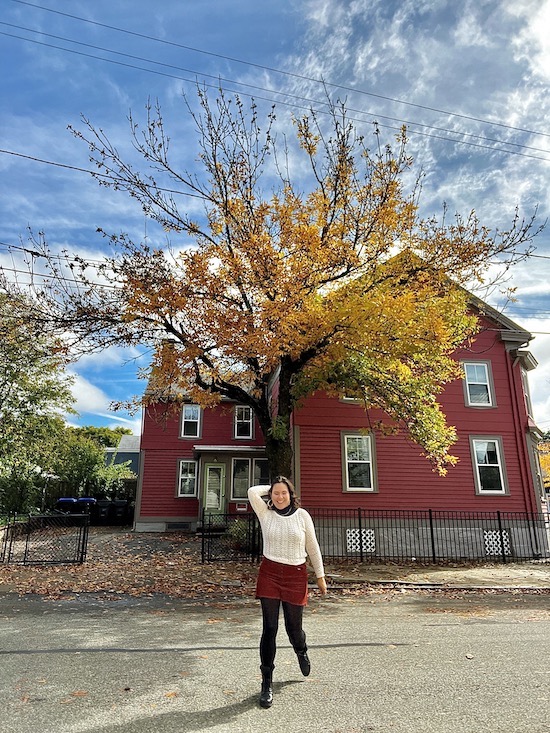
My posing has definitely changed over the years. I’ve gone from doing the #FollowMeTo pose that was super popular on Instagram for a while. For these I did usually have someone take it, but it wasn’t always a partner. Sometimes it was a friend or someone I had met a few hours before.
To the throw your arm in the air and kick your leg so it looks effortless and fun. This pose is great for holding a Bluetooth remote as people will probably be looking at you and the backdrop. They won’t notice what’s in your hand.
To my latest pose which is just facing one direction and looking over one shoulder. You’ll bend your left or right knee, hold your hands together to the left or right side, and turn your head to the left or right looking over your shoulder. Extra points if you’re able to get your hair swaying to make it come off even more natural as if the photographer, aka you, caught you off guard. This pose is perfect for hiding the Bluetooth remote in your hand.
Getting up early
You’ve arrived at your destination and you’re excited because you’re about to get all the shots you have been planning for weeks or months now. You get to the spot and realize it is completely crowded and won’t look anything like your Pinterest board.
I’m going to let you in on a not-so-secret secret. Most travel influencers are up before the sunrise to see the photos you see on Instagram. Cue, “But I’m on vacation”.
And I get it.
I wasn’t always an early riser, but there were a few reasons I decided to start.
Crowds was definitely a factor. It meant less editing when I got home and prepared to post about my trip.
It also meant softer lighting. Getting a shot at 7am will not look like a shot at 12pm. The shadows a photo taken at noon cause will be harsh on your face and will not look as dreamy or aesthetic without lots of editing.

I personally like making my life easier and getting up early so that I don’t have to edit/crop people out or change up the lighting/coloring of the photos. In the overall idea of things, it makes my life simpler with all the other days I have to get done most days.
You may or may not adopt this one long term, but I ask that you try it once. Go to a place in the am to take the photos you want and return later that day in the afternoon and look at the differences I’ve mentioned. And then tell me which you liked best in the comments!
Tripod with remote
There was a time when I thought it was so cringe to set up a tripod, set up the shot, and then frame myself in it. I would be like, “what will people think?!”.
Then I start telling myself: I will never see these people again.
Telling myself that and believing it changed the game for me. Sure, there are still times when I get a bit self conscious. For the most part I am able to get the photos I want because chances are I will probably never be in this place again.
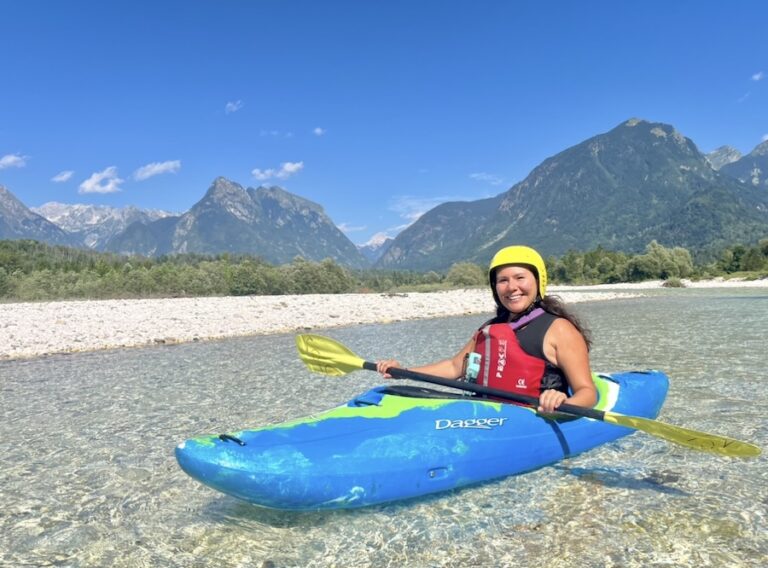
I have used many tripods over the years and so I have a few to recommend. First, it has to come with a Bluetooth remote. Most on Amazon already do, but some don’t so make sure you’re getting the right one.
Second, the one you travel with should be lightweight. A friend recommended this one that comes with a ring light and I thought it was cool because it would come in handy with lighting as I travel, but it is much bulkier than I originally thought. This has turned into my at home tripod.

My travel tripod is super lightweight, has a Bluetooth remote, and extends taller than me. It’s thin enough to carry at all times in my day backpack without adding much weight or occupying much space. It comes in multiple colors and super easy to use. I’ve been using it for 6 months now and I highly recommend!

Bluetooth Remote
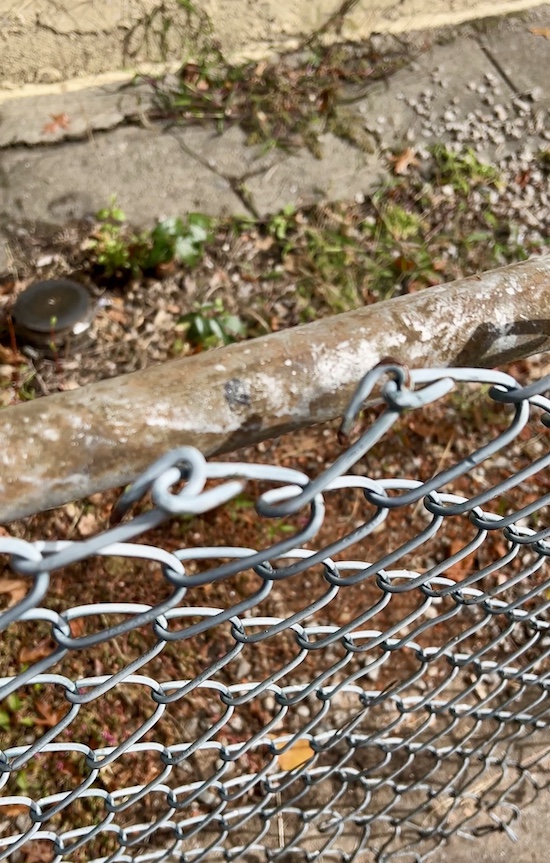
If carrying around a whole tripod isn’t it for you, then just carry the Bluetooth remote. Lately I’ve been adapting for this on day outings or day trips. This is because my phone case is also ideal for propping it up places and the remote allows you to take good photos of yourself with minimal effort.

Most of the time I’ll lean it against my backpack or water bottle, but sometimes that angle is too low and I want something higher. Since my phone case has a flap that opens, which conveniently holds up to 4 IDs and/or credit cards, I have a bit more to play around with than just propping it up against something.
Due to this, I’ve hung it up on a fence, on my laptop, even on an airplane to watch a movie hands free! I do not see myself having a phone case in the future that doesn’t have this open flap. It has been a game changer.
A Drone
This is a pricier one, but if videos and content in general is what you plan to lean into then it’ll be a worthwhile investment. You do not need to start with the fanciest, most up to date drone if you do not feel comfortable yet.
At the time I’m writing this post, I use a mini DJI Fly 2 and it’s a great starting drone. Since it’s a mini, you don’t need to register it everywhere you go as it’s smaller than the ones listed on some countries websites.

It can take a bit to get comfortable with the drone so you’ll want to start playing around with the features while you’re still at home. Because believe it or not, I have had this drone for almost a year and only recently found out about the Quick Shot options it has which are perfect for when traveling solo.
These options let you set up the shot, think straight up, circle around you, or move up and away simultaneously. Once you set it up it gives you three seconds before it starts which could give you a chance to hide the controller behind your back or in your bag to make it seem as if someone is helping with the shot even though it’s just you!
Drones are great for taking good photos of yourself as a solo traveler, definitely recommend it.
Ask someone or hire someone!
If you’re still not feeling comfortable doing any of these just yet, that’s ok! Asking someone is always an option.
I recommend asking teenage girls as they’ll know how to work the camera vertically. This is great if social media is where you mainly post. They’ll click away multiple times without you having to ask! If you have an iPhone make sure it’s on Live mode in case you need to use that later when editing.
If you’re looking for more horizontal shots, ask someone with a professional camera. That’s usually how they already shoot and that will be their go-to. Since they work with a camera they’ll be more likely to keep you in frame, with the background, and in focus!
Hiring a professional is another great option. I recently went on a photography tour in Budapest and got some amazing shots. The guide knew where to go and the angles that worked best. This is great if you’re still not sure of your poses and need some direction. Don’t hold back though and make sure to have fun with it!
Anymore to add?
These tips are things I have done or currently do, but I’d love to hear from you! What tips do you use or have used that you use to take good photos of yourself as a solo traveler that you think should be added to this list? Let me know in the comments so that others can know about them too.
If you’re looking to travel solo for the first time and are looking for some guidance. Make sure you check out my Solo Tips for New and Experienced Travelers. We all need a refresher at times, no shame in that.
Sign up for my email list where I share Solo Travel Tips, Stories, and More. I talk about past and current experiences as well as new destinations I’ll be traveling to solo and what I think and how I feel before the trip.
Make sure you’re following me on Instagram, TikTok, and YouTube for more up to date content on where I’m at and where I’m going next. If you haven’t already, join my email list so you know about my adventures, general travel updates, and more before anyone else!
Viaja more y live más,